Hanging out to dry…
 Luckily I have a cellar where this saturated fabric can drip dry. It takes absolutely ages but there is no rush when I allow plenty of time.
Luckily I have a cellar where this saturated fabric can drip dry. It takes absolutely ages but there is no rush when I allow plenty of time.
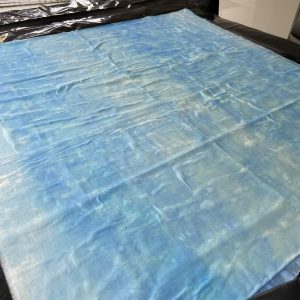 but it will be great when it’s dry!!
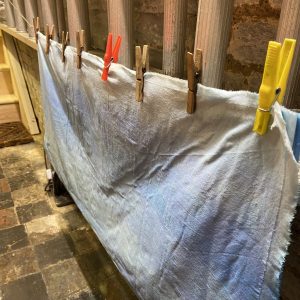
 I’ve layered several pieces of threadbare cotton sheeting which I’ve sprayed with water. The paint I’m dabbing on will go through all the layers giving me plenty of backgrounds for future projects.
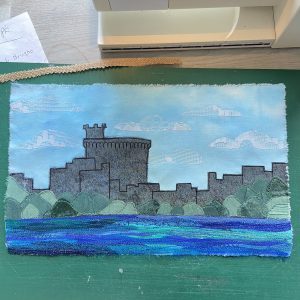
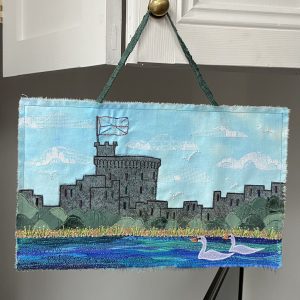 It’s finally finished!! The Windsor Castle wallhanging is complete and the little swans finish it off nicely. The castle fabric and bugle beads catch the light beautifully and I really hope my friends will like this memento I’ve created for them.
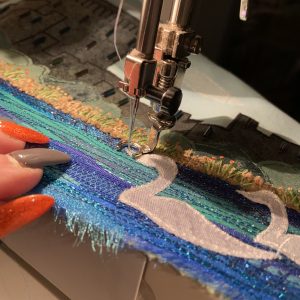 I’ve added bugle bead windows that will catch the light, a hessian pathway and some French knot flowers. The swimming swans are being machine stitched in place so now there’s only the Union Jack to add.
 I’ve been spending the day cutting out a multitude of trees and wavy snippets to create a stylised River Thames. All is now stitched in place ready for the next stage.
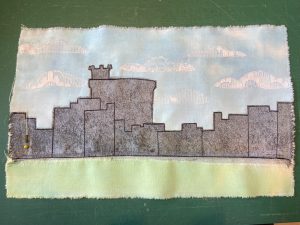 The next step is to add the castle to the background and stitch it in place.
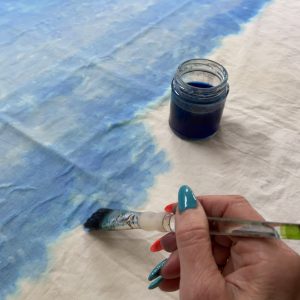
 Step-by-step progress is made and this is the first stage of creating the wallhanging. Placing some lacey clouds on a blue sky makes the background come to life.
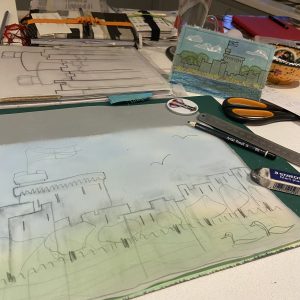 This latest project is a farewell gift to friends returning to New Zealand after spending many years in Windsor. I thought a small wallhanging of Windsor Castle would be a nice memento. I’ve started the initial prep work and am pleasantly surprised and pleased with it so far…
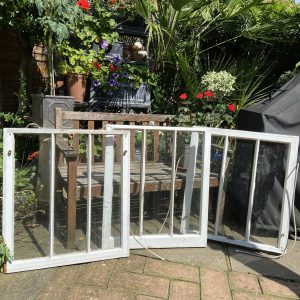 Victorian sash cord windows rescued from next door’s front garden (with their permission, of course!). With a little TLC and some tentative ideas they will be repurposed for a new life. A triple triptych, perhaps?