Packing up…
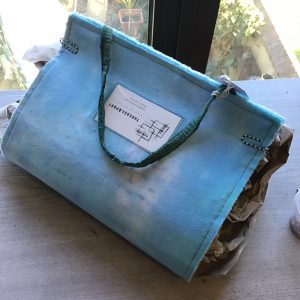 a potential sale. It’s all well and good designing and creating this Windsor Castle wallhanging but working out how to wrap it ready to go to its new home is also important. I think the best way is to lay it flat, face side up, place a roll of scrunched paper on top, bring the ends up and secure with paper clips. Last of all pop it into a paper carrier.
 and time to set up in Craft Coop Windsor. After a bit of juggling my area is starting to take shape. It’s quite tricky to get the display just right and show everything off to its best advantage but I think I’m almost there!
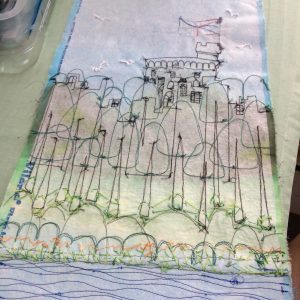 I thought I’d take a picture of the reverse side of my wallhanging. An interesting perspective although I’m not sure I’ll follow the idea through!!!
 but this time showing off some riverside foliage and an elegant swan.
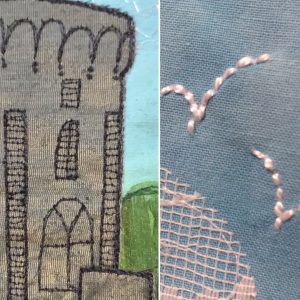 Here is a little sneaky peak of two aspects of my Windsor Castle wallhanging – not wanting to give too much away!!!
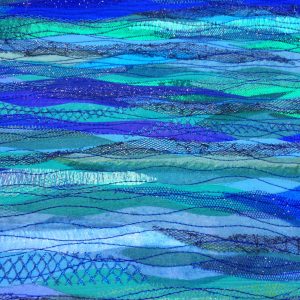 Mother Thames isn’t usually this vibrant but with a little artistic license and a good selection of colourful and textured fabrics I can pretend that the worst of the wintry weather is behind us. I just need to add a few lines of metallic machine stitch to give the piece a bit of extra glisten and sparkle.
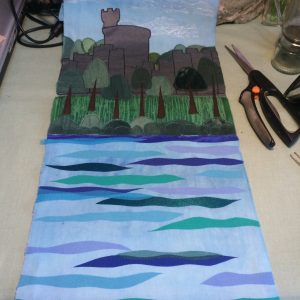 My signature design is finally making an appearance. It’s one of my favourites and I use this blue and green waterways version quite a lot. I’m hoping to expand this idea into a multitude of colour ways. So far I have only used different textures of white for my wedding journals and cards but it is very effective.
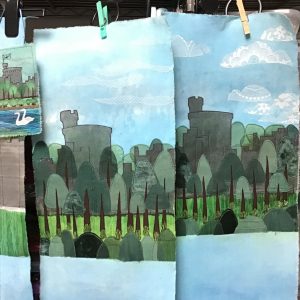 I’ve embroidered some blades of grass around the tree trunks. I might add some more to the background at a later stage but will leave that ‘til last and see what’s missing in the overall picture.
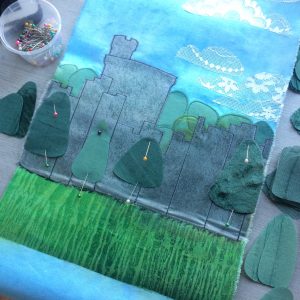 one by one. Different shades and textures of overlapping greens will make up a tactile wall of foliage. The fabric came from a pre-loved tiered skirt make from several different complementary materials that I can use for lots of projects. So glad now that I didn’t throw the skirt out!!
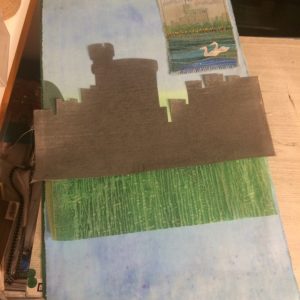 My next task is to work out exactly where to put the castle and the grassy foreground. It may not seem much but it’s important to put them in their right places because once they are ironed down… that’s it!! Oh, and I mustn’t forget that the clouds must go on first so some of them can be peaking out from behind the castle turret.