Up in the clouds…
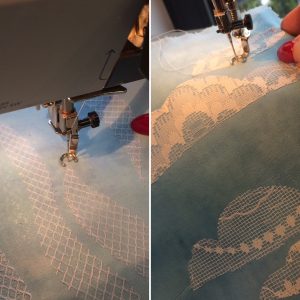 The first thing to do, now the backgrounds are dry, is to place the clouds and stitch them down. It’s difficult to choose which lacey fabric to use so I usually make each wallhanging slightly different… which gets me off the hook with having to make a decision!
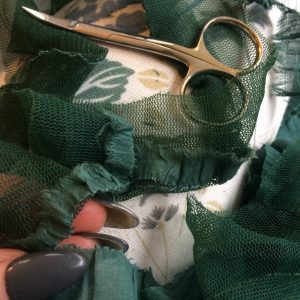 What better way to spend a rainy afternoon than to pick apart the layers of a vintage multi-tiered skirt that found its way into my stash box in readiness for a new use. The various textured fabrics are just right to use as the grassy background as well as diverse appliqué trees for my latest Windsor Castle wallhangings.
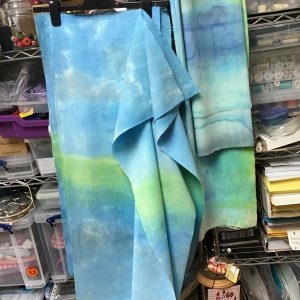 after several days! I had paint seeping through so many layers that all the fabric took absolutely ages to dry. I left it laying flat so the colour wouldn’t run and bleed too much and I’m really pleased with the random result produced.
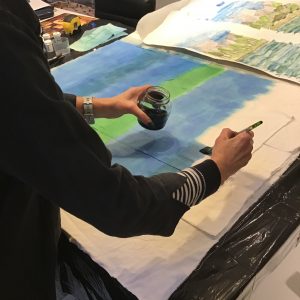 on painting the background. To maximise its usefulness I used a threadbare linen sheet and while it was still damp tore it into specific sized pieces. I layered them one upon the other and generously painted on the colour encouraging it to seep through the multiple layers giving me several backgrounds for future wallhangings and projects.
 The next stage of my wallhanging is to select fabrics to appliqué on to the background. I pulled out a range of suitable colours for the castle, bushes and trees, leaving the river ‘til last as that is the (relatively) “easy” bit!!! That reminds me, I haven’t painted the background yet. Maybe tomorrow…
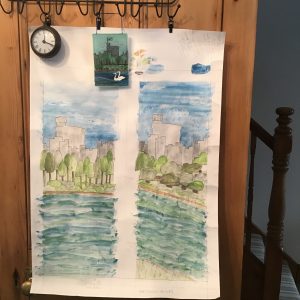 Much happier with this result, especially after outlining everything in black ink. With the designs side by side I can now stand back and look at them, making it much easier to decide which one I shall go with. I expect the final design will probable be a mix of the two… although I think I prefer the straight-on view.
 I wasn’t too happy with the last version so I drew the trees and bushes differently and also decided to colour the sketches using Inktense Blocks. A definite improvement all round!!
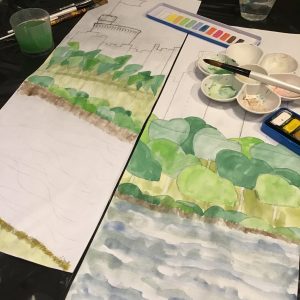 Stage 2 and finishing the preliminary stage by painting with watercolours. For me that is a challenge in itself!!! It looks so different and more defined and will help me decide whether I prefer the straight on view or slightly angled at a slant.
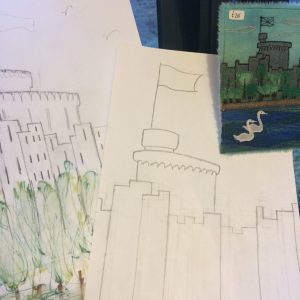 I had a frame made for a specific place but, as the aperture is 22 x 62cm, I’ve so far had no luck in finding anything to fit in it or to even cut down to size. As I like my Windsor Castle textile miniatures I’m having a go at scaling up the design to fit the frame.
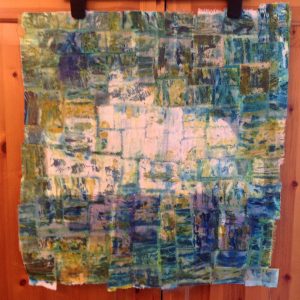 and I’m not altogether sure where it came from but that really doesn’t matter. I shuffled a few of the torn squares around, ironed them in place and seem to have created a castle rising up through a river mist. The piece now needs some stitch to give definition…