A muddle of fabrics…
 The next stage of my wallhanging is to select fabrics to appliqué on to the background. I pulled out a range of suitable colours for the castle, bushes and trees, leaving the river ‘til last as that is the (relatively) “easy” bit!!! That reminds me, I haven’t painted the background yet. Maybe tomorrow…
 Much happier with this result, especially after outlining everything in black ink. With the designs side by side I can now stand back and look at them, making it much easier to decide which one I shall go with. I expect the final design will probable be a mix of the two… although I think I prefer the straight-on view.
 I wasn’t too happy with the last version so I drew the trees and bushes differently and also decided to colour the sketches using Inktense Blocks. A definite improvement all round!!
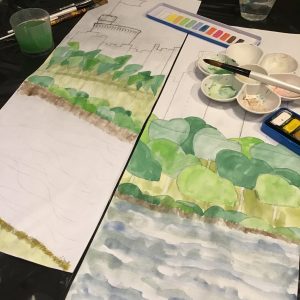 Stage 2 and finishing the preliminary stage by painting with watercolours. For me that is a challenge in itself!!! It looks so different and more defined and will help me decide whether I prefer the straight on view or slightly angled at a slant.
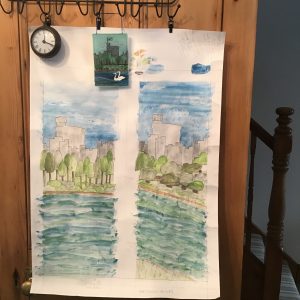
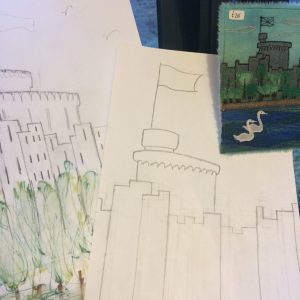 I had a frame made for a specific place but, as the aperture is 22 x 62cm, I’ve so far had no luck in finding anything to fit in it or to even cut down to size. As I like my Windsor Castle textile miniatures I’m having a go at scaling up the design to fit the frame.
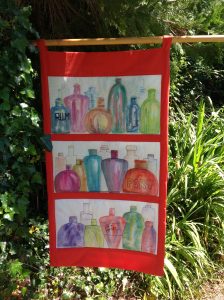 There will be three panels altogether and it should look stunning!
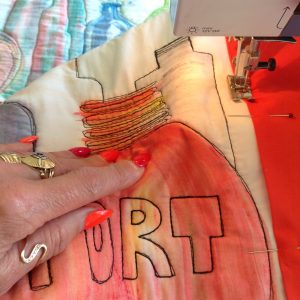 Just adding sides and shelves.
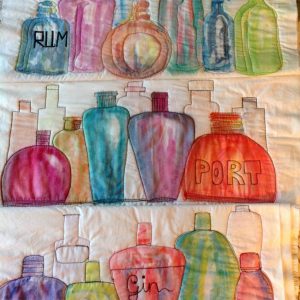 As a class project my textiles class ‘volunteered’ to make a backdrop for a refreshments tent at a local craft fair.
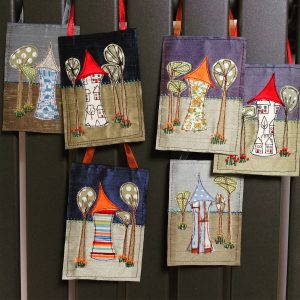 A huddle of fairy houses ready to go to their new homes.
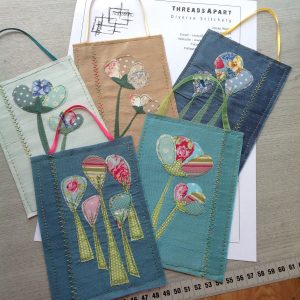 Miniature textile pieces are sewn onto card for you to write your own special message. Can be simply hung up, or framed, as a little gift to keep on display.